
Export Transcripts & Timelines
Last updated: September 2026
Two of the three Export tabs write text rather than audio: Transcript for the words, and Timeline for a cut list your video editor can open. Both sit behind Export, top right of the editor. For the audio file itself, see Export & Publish.
Transcript: TXT to read, SRT to caption
TXT is the one you paste into show notes. It writes a [Speaker Name] line at every speaker change, so name your speakers in People, Contacts & Voice Recognition first, or you'll be tidying up a lot of [Unknown] afterwards.
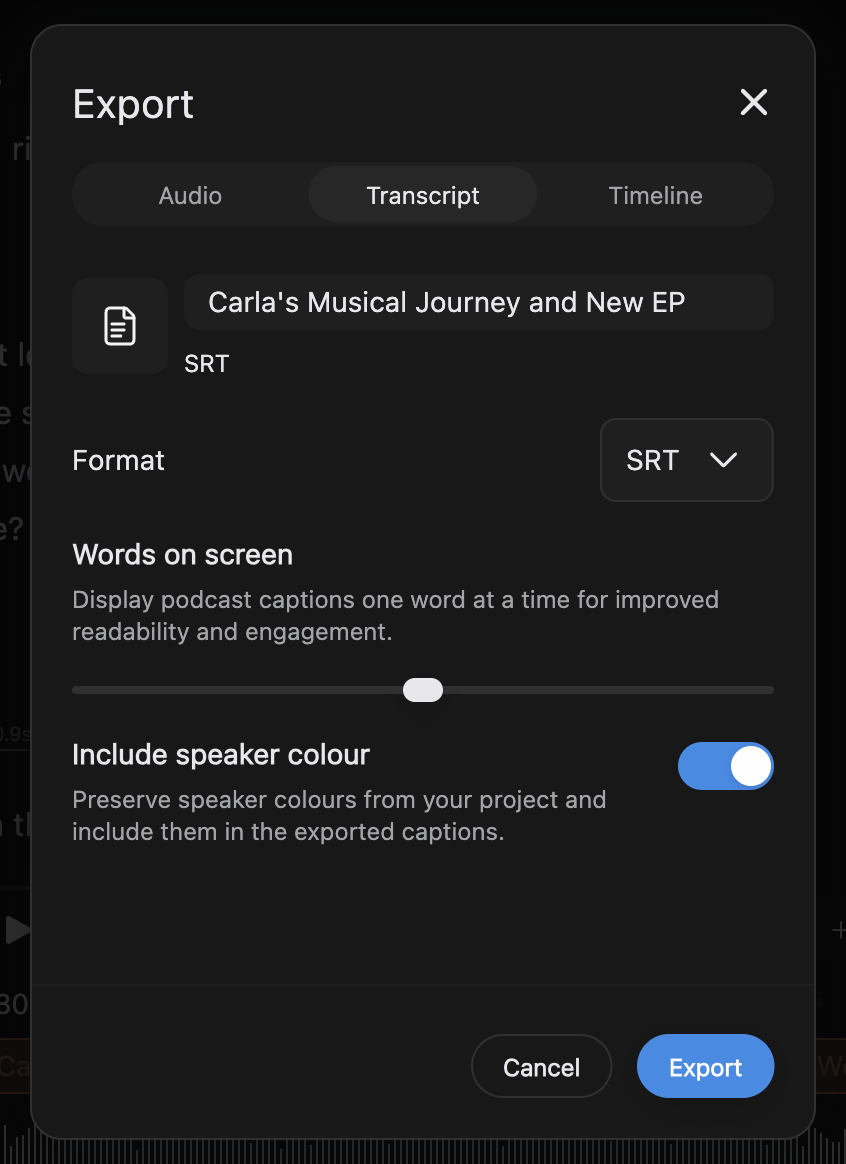
SRT is for captions over the episode. Click Export, then Transcript, set Format to SRT, and drag Words on screen to the caption length you want. Treat it as a budget rather than a hard rule: most captions come out shorter, because they also break at every change of speaker. Leave Include speaker colour on and each caption carries that speaker's editor colour.
Caption times run along your edit, not the original recording, so they match the exported audio.
Cut the video by cutting the transcript
Filmed the episode as well as recording it? The Timeline tab writes an OpenTimelineIO bundle, the interchange format editing applications trade edits in, and the picture arrives trimmed to match the cuts you made in the transcript.
The bundle holds cut points, not pictures, so it needs your camera file. Drag the video onto the dashed Source Video box, or click the box to open a picker. The box becomes a card with the file name and a Frame rate read from the video itself. Check that rate against your footage before you go any further: cuts land on whole frames at whatever it says, and the only way to change it is to attach a different file.
Then click Export, answer the Unsaved changes prompt if you have pending edits, and choose a folder (this one wants a folder, not a file name).
What lands in the folder
You get three files, all named after what you typed in the header row. Type "Episode 12" and you get "Episode 12.wav", "Episode 12.otio" and "Episode 12 - READ ME.txt".
The WAV is your finished mix, effects and all, and it always comes out at 48 kHz, 24-bit.
Move the folder or the video afterwards and your editor will ask you to relink.
DaVinci Resolve opens .otio directly: start a new empty project so the timeline keeps this edit's frame rate, then File > Import > Timeline..., relink if prompted, and mute the video clip's own audio so you hear only the exported WAV. Final Cut Pro and Adobe Premiere Pro don't read .otio, so import into Resolve and export XML or AAF from there.