
Getting Started with RØDECaster Studio
Last updated: September 2026
The end-to-end flow
Every recording goes through the same three steps.
- Get your audio in. Import a recording and RØDECaster Studio transcribes it and works out who is speaking. See Import & Upload Recordings.
- Refine it. Edit the transcript and the audio changes with it, then balance the voices, polish them and repair the sound. See Edit Like a Doc.
- Export it. Bounce out the finished episode, or take the transcript and timeline with you. See Export & Publish.
Nothing you do can lose the recording. Original stays as you imported it, and your first edit starts a new composition, Composition 1, so you can always get back to how it sounded.
Your first sign-in
You need a Mac with Apple silicon on macOS 11 or later, or a 64-bit Windows 10 or 11 PC, a RØDE account, and the app from studio.rode.com/download. First run needs the internet; after that you stay signed in and can work offline.
On the Welcome screen, click Sign in, or Create account if you need one, and finish up in the browser page that opens. Then come back and wait: Synchronising your account… sits there a good while on a slow connection, so give it time. If you are turned away instead, the banner says why, and Install RØDECaster Studio and Sign In explains each refusal.
You do not start empty. A new account arrives with folders, sample people and a recording already transcribed, so you can open the editor straight away. Editing is locked until you press Start Editing in the editor's RØDIE panel. Unlocking is how a recording becomes yours to work on, one recording at a time, and it sticks.
Take the tour
The tour is the quickest way to learn where everything lives: twelve stops, from importing through to export. Everything but the target dims and a card explains it.
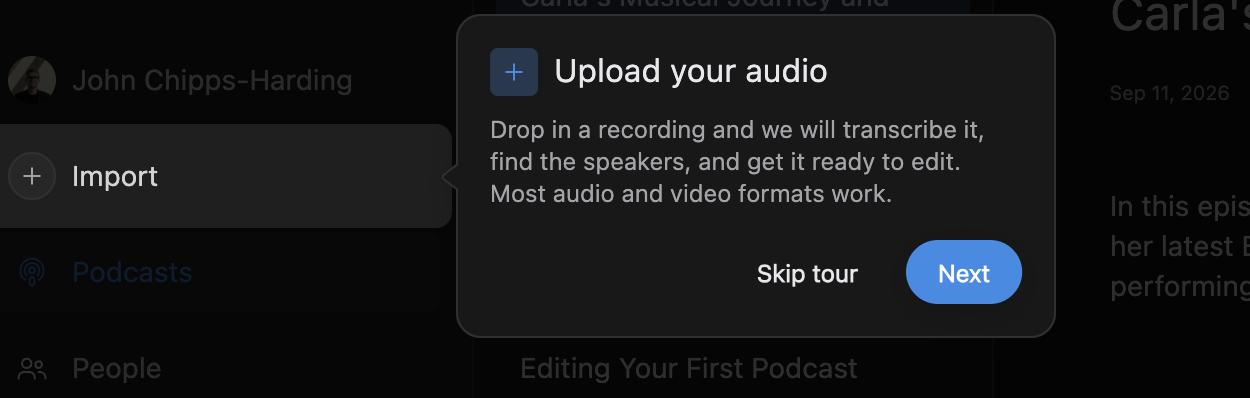
To run it again, choose Help > Show Tour Again, or in the editor press Help and choose Show Tour.